192.168.1.109
 Guide to 192.168.1.109 Admin Login
Devices such as routers, smart hubs, or network controllers may be assigned the local IP address 192.168.1.109 for setup and management. To access the settings, first connect your computer or smartphone to the same Wi-Fi network. Next, launch a browser and type the IP address directly into the address bar at the top of the screen. If the device is reachable, a login page will appear, prompting you to enter your username and password. Once signed in, you’ll be able to adjust configurations and manage the device’s features.
Operating 192.168.1.109 Admin
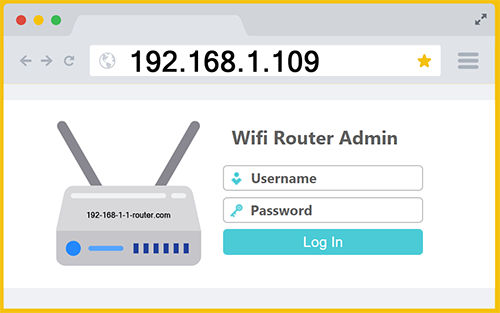
Begin by connecting your phone to the same wireless network as the device you want to set up. Once connected, open Chrome or Safari and enter “192.168.1.109” into the browser’s address bar. If the IP is correct, you’ll be taken to the login screen where you can enter your username and password to access the settings. Want to skip the typing? Just tap the button below to jump straight to the login page.
Conventional username: admin
Conventional passwords: admin and password
Typing https://192.168.1.109 into Bing or Google won’t take you to your device’s login page, it’ll just trigger an online search for the keyword. That’s because search engines are built to browse public websites, not connect to devices on a local network. To access your device settings, you need to type the IP address directly into Chrome’s address bar, which is the area at the top of the screen where URLs normally appear. Doing this correctly should open the admin panel, where you can log in and manage your device’s configuration.
192.168.1.109 Explained
192.168.1.109 is a private IP address commonly assigned to devices within a home or office network. It belongs to the 192.168.1.0/24 subnet, which is frequently used by routers as the default local network range. While 192.168.1.1 is typically reserved for the router itself, other IPs in the range, like 192.168.1.109, are automatically assigned to connected devices such as laptops, smart TVs, printers, or IoT gadgets via DHCP (Dynamic Host Configuration Protocol). This address allows the device to communicate with the router and other devices within the local network.
In some cases, 192.168.1.109 may also serve as the local IP address for a device that hosts its own configuration page, such as a smart plug, network-attached storage (NAS), or a secondary router set to bridge mode. If the device offers a web-based interface, you can often access it by entering 192.168.1.109 directly into your browser’s address bar. This will bring up a login screen, granting access to administrative settings like firmware updates, access controls, or performance monitoring. However, this only works if 192.168.1.109 is the current IP assigned to the device.
To determine whether a specific device on your network is using 192.168.1.109, you can check your router’s admin dashboard or use a network scanning tool like Fing or Advanced IP Scanner. These tools can show a list of all active devices and their corresponding IP addresses. If you identify 192.168.1.109 as belonging to a device you want to manage, make sure your phone or computer is connected to the same WiFi network before attempting to log in through a browser.
Finally, it’s worth noting that 192-168-1-109 is not a fixed IP address unless you manually assign it. If the router is restarted or the device disconnects for an extended period, a new IP may be assigned the next time it reconnects. To maintain reliable access, you can reserve this IP for a specific device through your router’s DHCP reservation settings. This ensures that every time the device joins the network, it receives the same IP address which makes management easier and prevents connection issues.
192.168.109
The IP address 192.168.109 is incorrect because it only has three segments instead of the required four. A valid IP address must follow the format of four numerical groups separated by periods, such as 192.168.1.109, with each group ranging from 0 to 255. In this case, the third and fourth segments are combined into one, which makes the address unreadable to your browser. To fix it, you simply need to add a missing dot to separate the last two sections. Changing 192.168.109 to 192.168.1.109 makes it a proper private IP address, allowing your browser to correctly locate and communicate with the device assigned to that address on your local network.